
THANK YOu for choosing flushmounts
See below to view assembly instructions for your 70 series utility vent.
Product Disclosure
By purchasing and installing this product, you acknowledge and agree that these products are specifically designed for off-road use. Any liability for electrical or other damages resulting from the installation or use of this product is solely upon the installer.
Installing 2x Flushmounts may have effects on interior ventilation and cabin pressure. These effects have not been studied by Flushmounts. The installation of 2x utility vents is solely under the installers discretion.

PARTS Included

(C)

(E)

(F)

(B)
(A)

(D)
PARTS Not included

(G)NARVA 62060bl x2
EXAMPLE IMAGE
(H)VOLTAGE or NARVA branded 12v accessory x2

EXAMPLE IMAGE
(H) must have the mounting hole dimensions of either:
50.2mm across

H27mm x W45mm

*The following instructions require the oem vent to have already been uninstalled*
STEP 1: Select orientation.

If downward hatch opening is required, orientate the assembly upward
B
If upward hatch opening is required, orientate the assembly downward

B

Orientate the cover to face towards the front of vehicle
A
STEP 2:
Insert (E)


STEP 3:
Mount cover to hinges using (C)
**WARNING**
While tightening, these screws will tap a new thread. DO NOT OVER TIGHTEN as these are at risk of stripping the thread.


STEP 4:
Install accessories (H) using (D)
Install switches (G)

STEP 5:
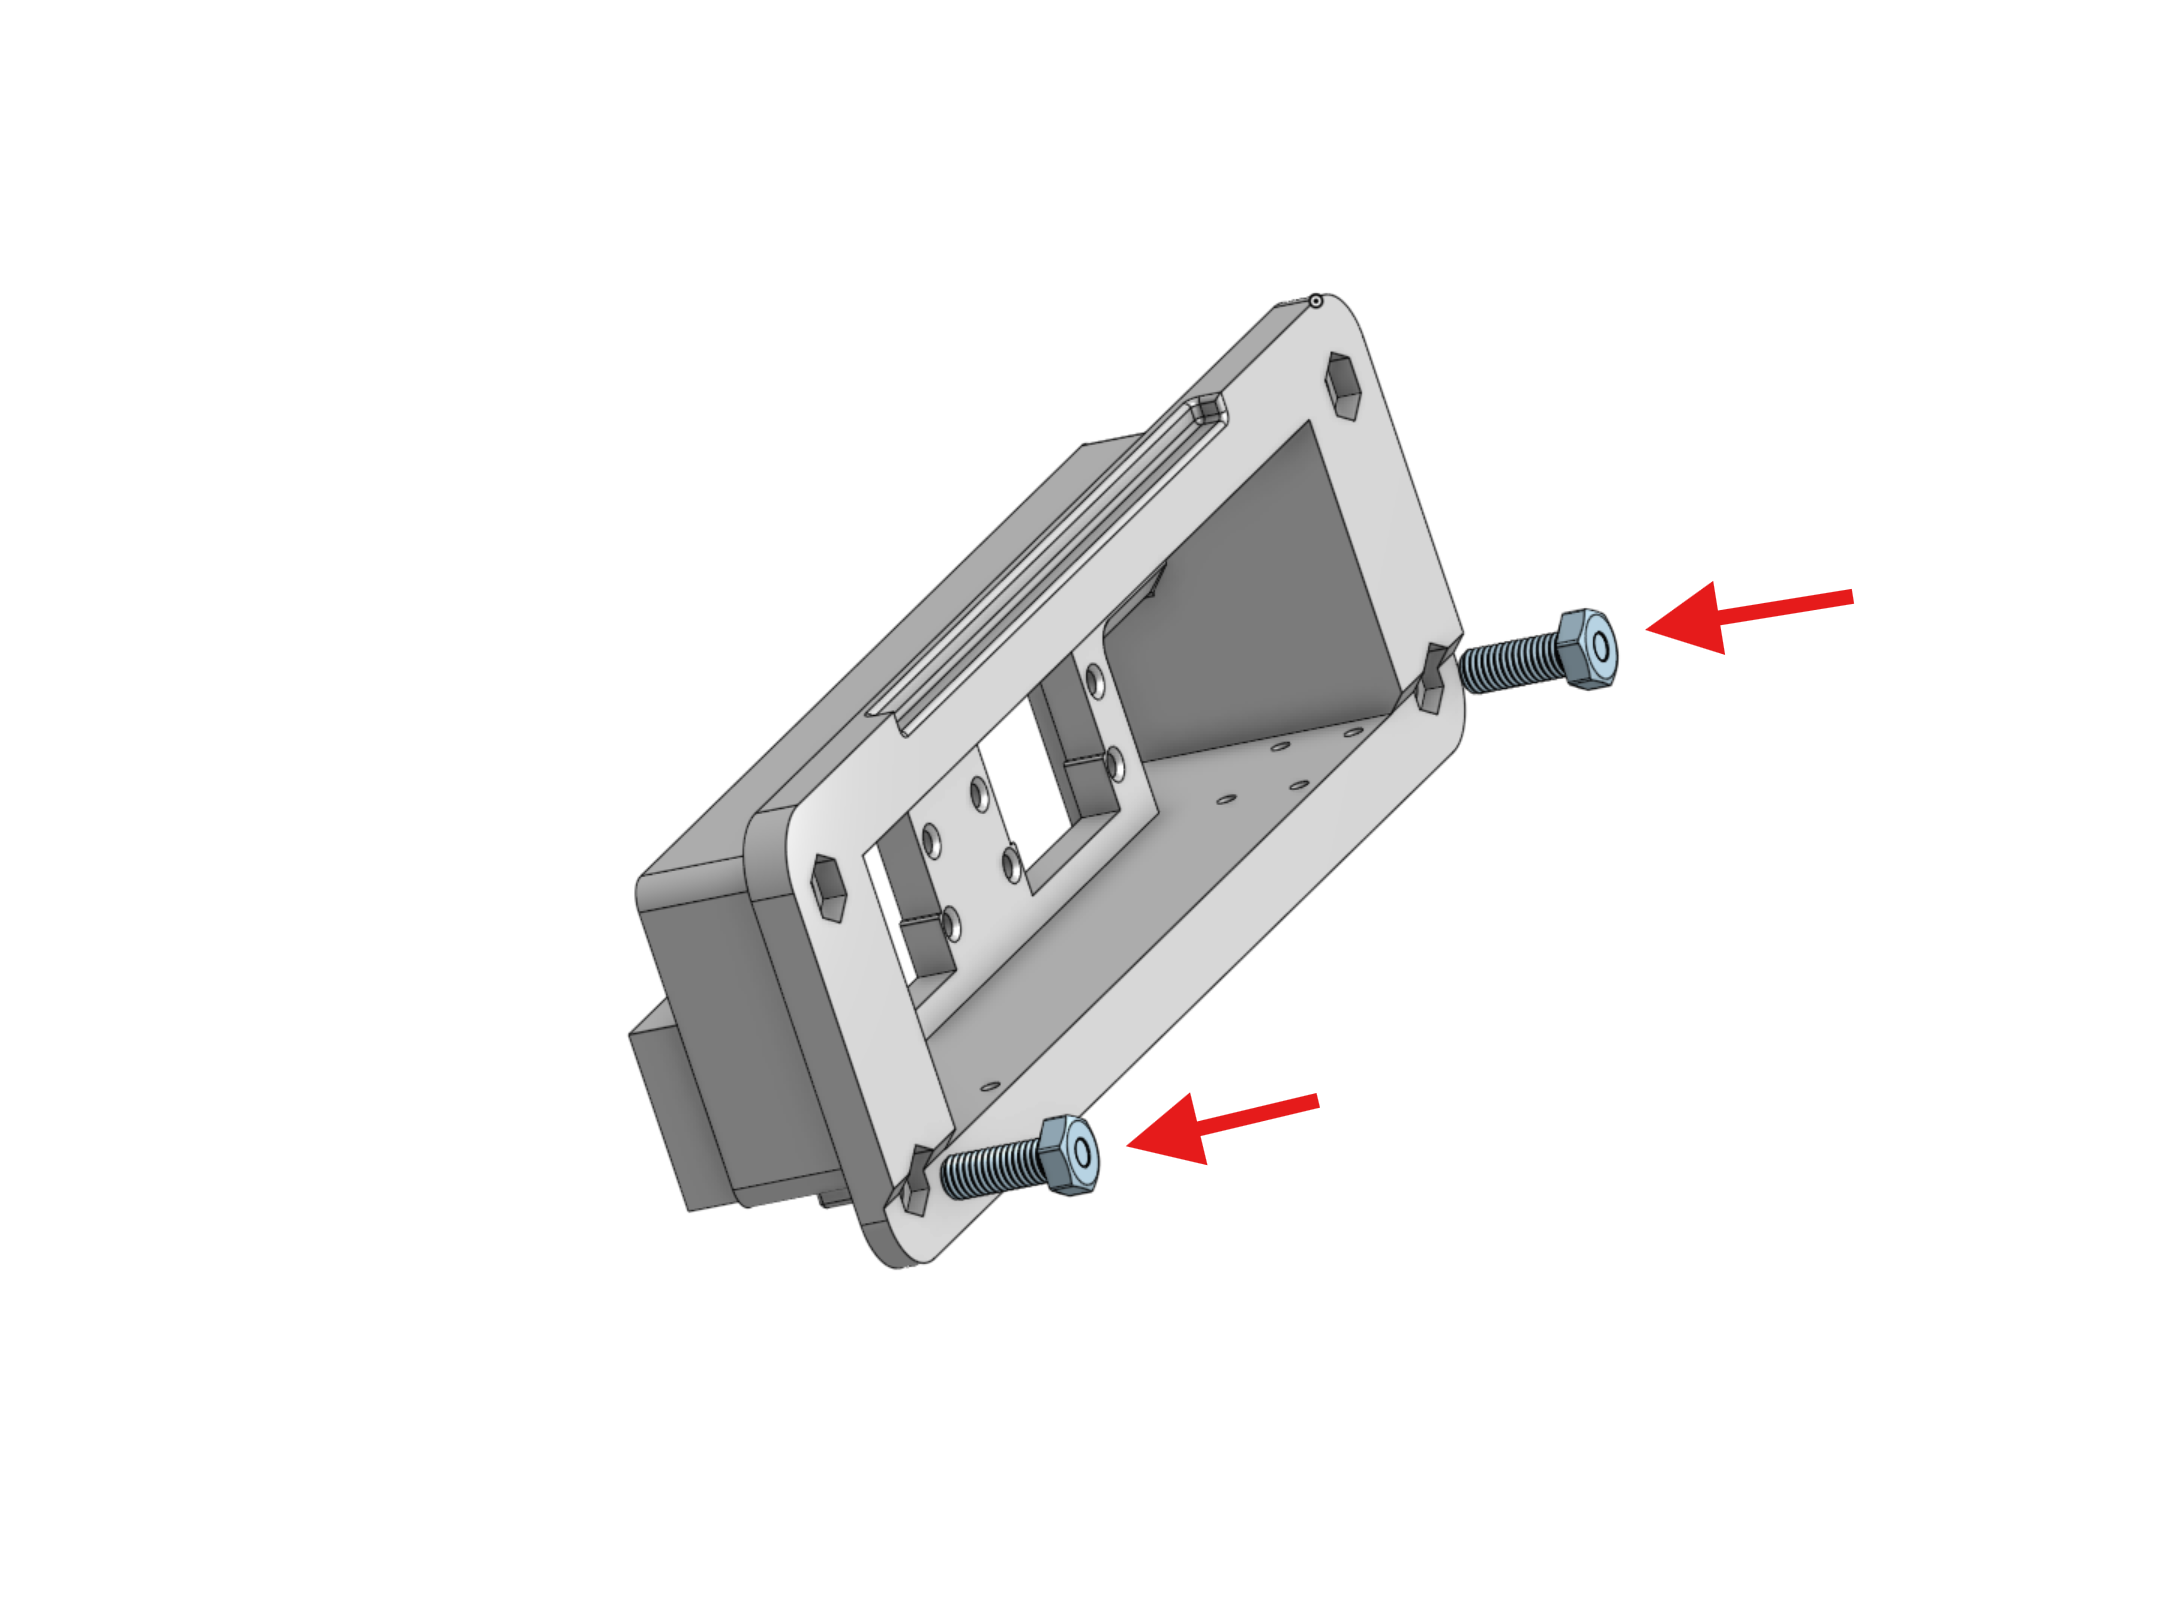
Install vent on vehicle exterior using (E)

Mount vent from interior using (F)


**WARNING**
DO NOT OVER TIGHTEN. Over tightening will result in the unit cracking. Nyloc nuts or spring washers are included to prevent loosening so an overly tight fixture is not required.
STEP 6: Wire up
Please note that wiring up this setup is entirely at the user's discretion. Our accessories are specifically designed for off-road use only.
Important Considerations:
Small Narva/voltage branded switches are typically designed to support low amperages. For larger current setups, a relay installation may be required to ensure proper functionality and safety.
By using our products, you acknowledge and accept the terms mentioned at the start of this page
STEP 7: Check out our other products